Rapid Prototyping with GatsbyJS
On February 17th, I gave a talk at the React Vienna Meetup about this topic and I thought writing a blogpost about could benefit some folks that either couldn’t make it or are living somewhere else around the globe. You can find my slides here.
I would like to start off with a question. What if you want to put together a website with the most modern web tech out there? You probably need to know a bunch of things to start a simple website. Do you want to use modern Javascript syntax? no problem, just use Webpack and Babel to help you transpile your code. Do you want to put your website online? just configure an small box on Digital Ocean, add Nginx and your website is online. Do you want to write blogposts and publish them using a CMS? No problem, just implement your backend, maybe using Postgres as a database. This list goes on and on if you try to start with a modern tool chain.
To get this whole setup done, and most importantly, correctly configured, can be hard. It is even worse if you are a beginner.

Static site generators come to the rescue
So you realize that this is an enormous amount of tools (and knowledge) you need to know upfront to start with a simple website. That is really overwhelming. This is where static site generators really shine. There is usually minimal to none configuration you have to do, there are many templates you can use to start with and most of the configuration thing is done for you. Some cool static site generators are:
The most interesting one that caught my attention lately was GatsbyJS. I have been working with React for the past 3 years and finding a decent static site generator based on React was very interesting. Right from the start, it solves all the problems I mentioned before. You don’t have to configure anything to start. You only need the minimal tools installed like a good text editor and node.js. There is also no need to have a server for hosting. It generates all the pages statically, which means that when you bundle your website, you have one HTML file for each page of your website, just like the web is supposed to work. And simple enough, you can just upload those files to a static site hosting provider like netlify or even use Github Pages to host it for free.
Gatsby has an incredible feature that sets it apart from other generators: Your
datasource doesn’t have to be statically located within the code, like markdown
files. It can be pulled from a remote datasource, like a headless CMS, before
generating the pages.
That is a big deal if you want the freedom of publishing blogposts from a nice
CMS or you have a team of content creators that are simultaneously creating
content. Their don’t have to be developers to be able to create a blog post, and
Gatsby enables exactly that.
Our little experiment
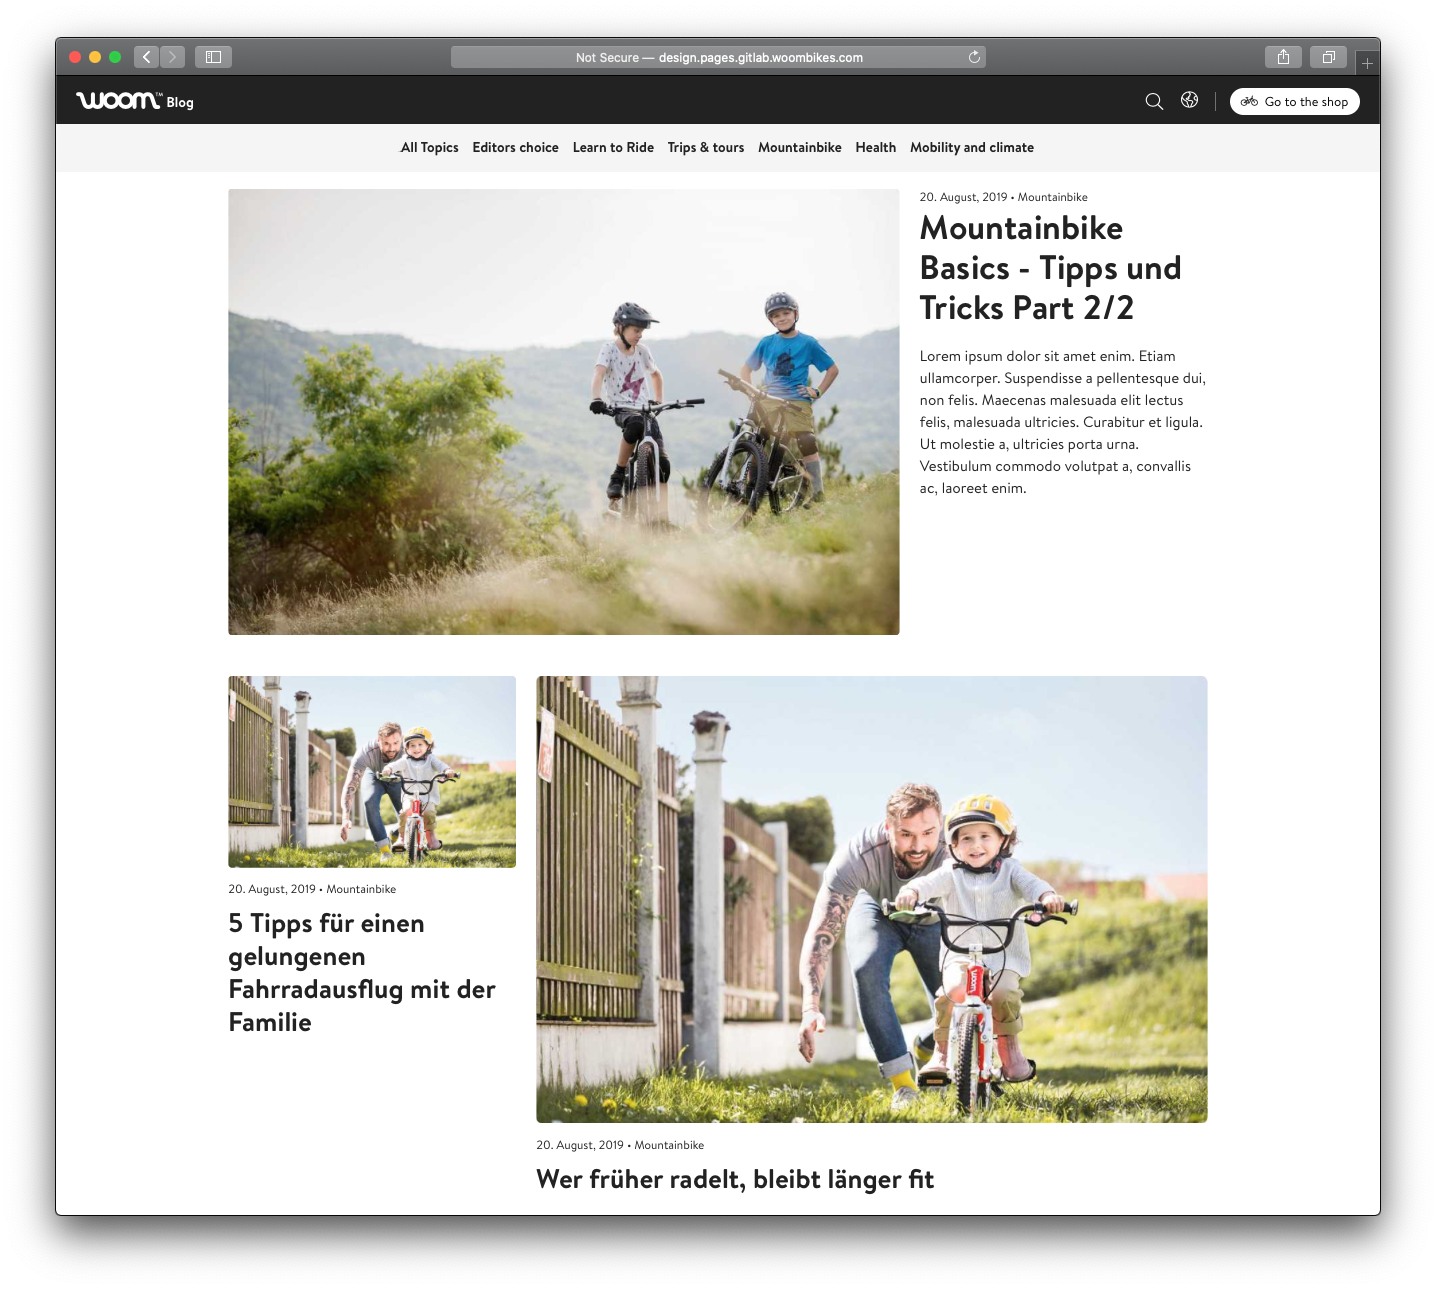
At woom we are modernizing our tech stack. One interesting project we had was to rebuild our blog frontend, but in a way that we don’t get stuck at a specific platform like we had before (using our ERP). As the main engineer responsible for this project, I decided to give Gatsby a try. I was impressed with the development speed we had using it to implement our blog prototype. We ended up using Hubspot as our CMS since we are using it for other marketing purposes, but the frontend is still portable if we decide to shift to a new CMS. You can take a look at our blog here.
This is how it looks like after we got it done:
But what are the main advantages of Gatsby anyway? What really made us to look at it differently?
It uses React
If you never heard of React before, it is the state-of-the-art of frontend libraries. Writing frontend with React requires a different approach, but it definitely pays off. It lets you break your application into reusable components, which makes it infinitely simpler to reason about it and debug.
React hooks
Even though Gatsby generates static pages, you can still benefit from React
state management. hooks like useState and useContext are still there to help
us have a more dynamic page.
GraphQL included
Using the built-in GraphQL API, you can pull data from a remote datasource, process static files from your local repository, like lets say images and transform them to alternative resolutions for different device sizes and so on.
Development and Production configuration out-of-the-box
You don’t have to hassle around WebPack configurations, pipelines or anything
like this. The basics, which is already what you need to start, is already
there, properly configured and ready to row with the single command
yarn develop during development and yarn build to deploy a new build.
Rich plugin ecosystem
When looking for a framework, you usually have to consider how flexible it can be, so you can benefit from the community, using code extensions and plugins. Gatsby has a very rich plugin ecosystem, and the most important ones, like gatsby-image for image processing are already there, provided and maintained by Gatsby directly, which is a good sign that will be kept up2date.
Lets try to build something
For this talk blogpost, I created a little demo. This is a website with a
blog section. The blogposts come from
the headless CMS Storyblok.. You can find the
source code of
this demo here.
Clone the demo repo and execute the following commands:
# Clone the repo
git clone [email protected]:brunojppb/gatsby-minimal-blog.git
# Now lets go to our newly created project
cd gatsby-minimal-blog
# install all dependencies
yarn install
# and fire up the dev server
yarn develop
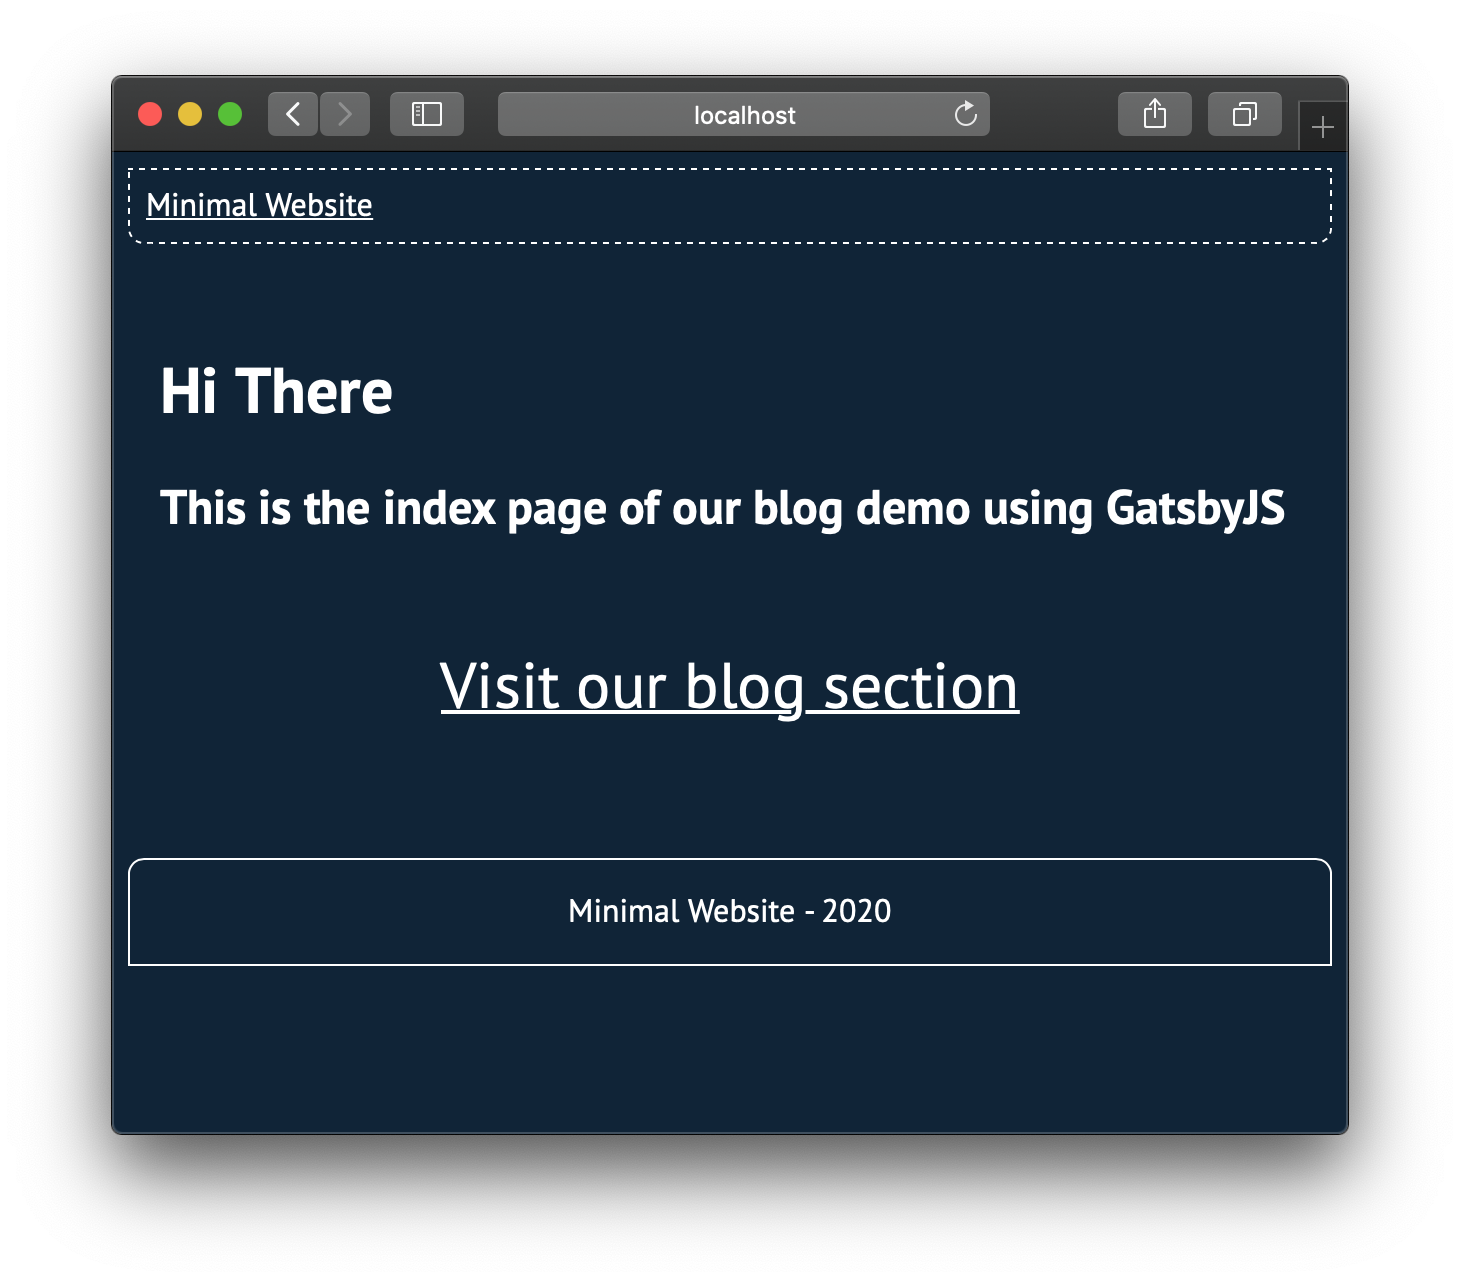
Now lets go to our browser and type in localhost:8000 to see what happens. You
will see a nice and bare-minimum website, very similar to the screenshot I
posted above, but with a link to the blog section of the website.
If you take a look at the terminal, you will see that there was an error with a
plugin. something like failed createPages - 0.193s. This is because when we
hit yarn develop Gatsby kicks in and try to fetch our posts from Storyblok.
But since you don’t have an account there yet, it can’t find out your API token
to access your blogposts. So go ahead and open
Storyblok to create your account and select the
demo.
After signing in, you will that there is a demo space created for you. Don’t
get bogged down with the details, Lets just try to create content there. On the
left-hand side, click on Content, inside content, you will see a list of
different assets. You have to delete all of them, but leave Blog Articles.
Now select Blog Articles.
You will see a list of different contents, select all of them and delete it. We
will create a new article from scratch. On the top-right corner, select
“+Entry”. You will be asked to enter a title. On the content type dialog,
select article and hit create. After this screen, you will land on a CMS-like
page where you can write on the right-hand side menu and see it live rendering
on the left-hand side. Try it out, update the title field and write something
into the long text dialog. When you are happy with it, just hit publish
on the top-right corner.
Now lets get the API Key to access our content. To to settings -> API-Keys.
There you have an API token called public. copy it to your clipboard. Now head
back to your text editor and create a file called .env.development on your
project root folder. and inside of it, add your API token in the following
pattern:
CMS_API_TOKEN=YOUR_API_TOKEN_HERE
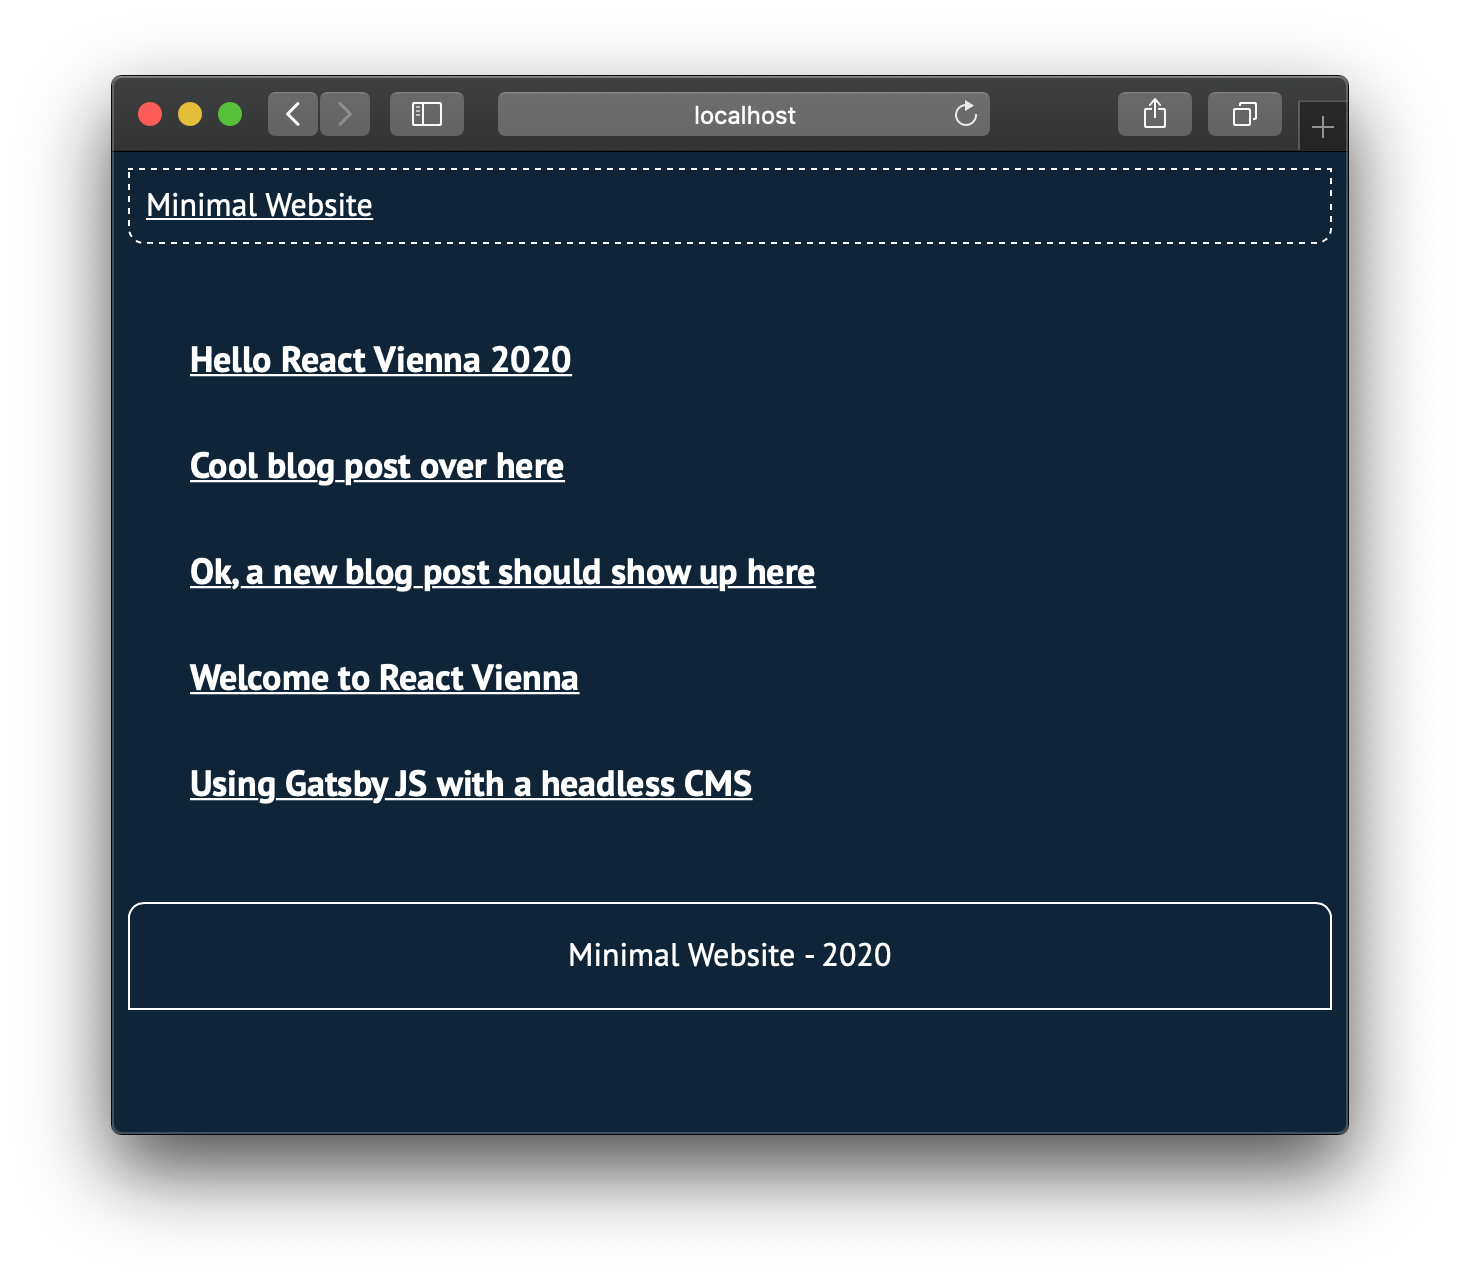
After that, restart your development server. Go to your browser and click on
Visit our blog section. You should see your recently created article there.
You can click on it and to directly to the article page. But what happened
there? Lets take a look at the a file called gatsby-node.js:
const axios = require("axios");
const marked = require("marked");

exports.createPages = async ({ actions: { createPage } }) => {
  const url = `https://api.storyblok.com/v1/cdn/stories`;
  const articles = await axios.get(url, {
    params: {
      token: process.env.CMS_API_TOKEN,
      "space.version": new Date().getTime(),
    },
  });

  // Create articles list page
  createPage({
    path: "/articles",
    component: require.resolve("./src/templates/all_articles.js"),
    context: {
      articles: articles.data.stories,
    },
  });

  // create each individual article page
  articles.data.stories.forEach((article) => {
    createPage({
      path: `/article/${article.slug}/`,
      component: require.resolve("./src/templates/article.js"),
      context: {
        article: {
          ...article,
          content: {
            ...article.content,
            // Don't do this at home :)
            // You need to sanitize this HTML first
            long_text: marked(article.content.long_text),
          },
        },
      },
    });
  });
};
This is a lifecycle script executed by Gatsby during build time. What this script does is:
- fetch all articles from Storyblok
- create an index page with all the articles so you have a complete list
- create individual pages with each article
If you look into src/templates/all_article.js you will see:
import React from "react";
import { Link } from "gatsby";
import Layout from "../components/layout";

export default function AllArticles({ pageContext: { articles } }) {
  return (
    <Layout>
      <div className="article-list">
        {articles.map((article) => (
          <div key={article.uuid}>
            <Link to={`/article/${article.slug}`}>{article.content.title}</Link>
          </div>
        ))}
      </div>
    </Layout>
  );
}
The AllArticles component follows a pattern imposed by Gatsby. It must
receive a prop called pageContext. This necessary for Gatsby to inject the
content at build-time and render the component to generate the static pages. If
you follow the convention, you get all this magic for free.
The same thing happens to the Article component. it expects a pageContext
prop and from there on, you can create your React component in the same way.
Next Steps
This example was very naive and simplistic, but you can already have a feeling
of what Gatsby can do. If you are considering to develop a new website and don’t
want to waste your time with tooling configuration, give Gatsby a try. It will
be probably worth it.
We are now evaluating if makes sense or not to build out Shop frontend with it
in a way that supports multi-language. I got some interesting feedback from
folks using Gatsby in production during my React Vienna talk that will
definitely help to try it out.